There are several ways to setup the scikit-learn kernel to work:
Method 1: Using SMU HPC M2 (Recommended)
Using this method, you need to have an M2 account.
Step 1: Login to SMU Open OnDemand via web browser:
hpc.smu.edu
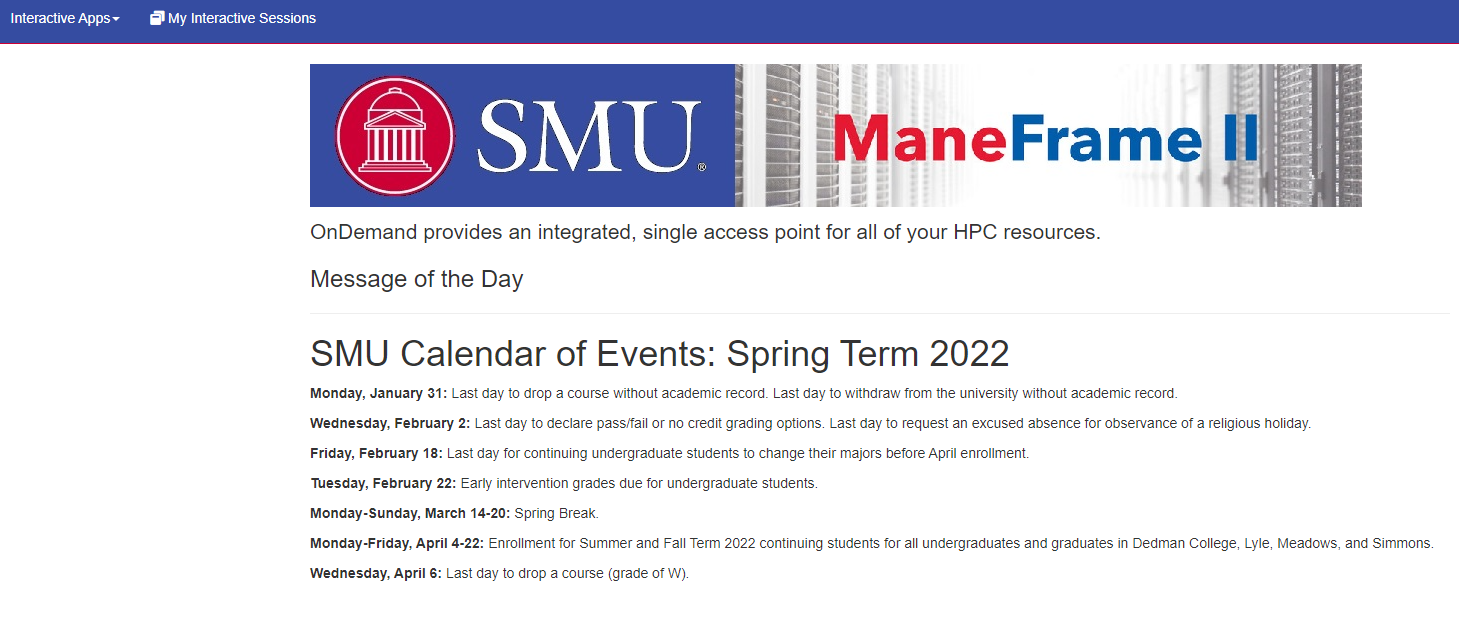
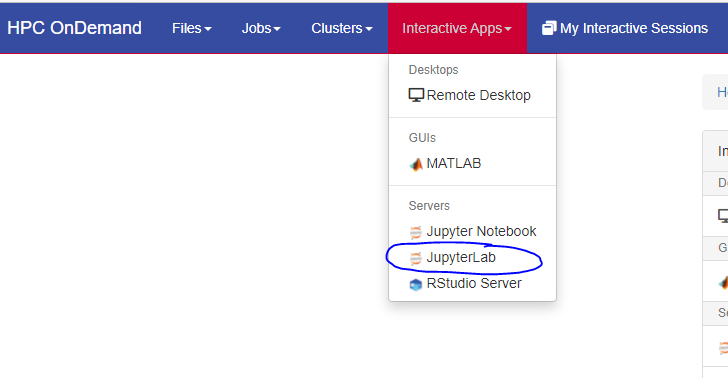
Step 2: Request JupyterLab Instance:
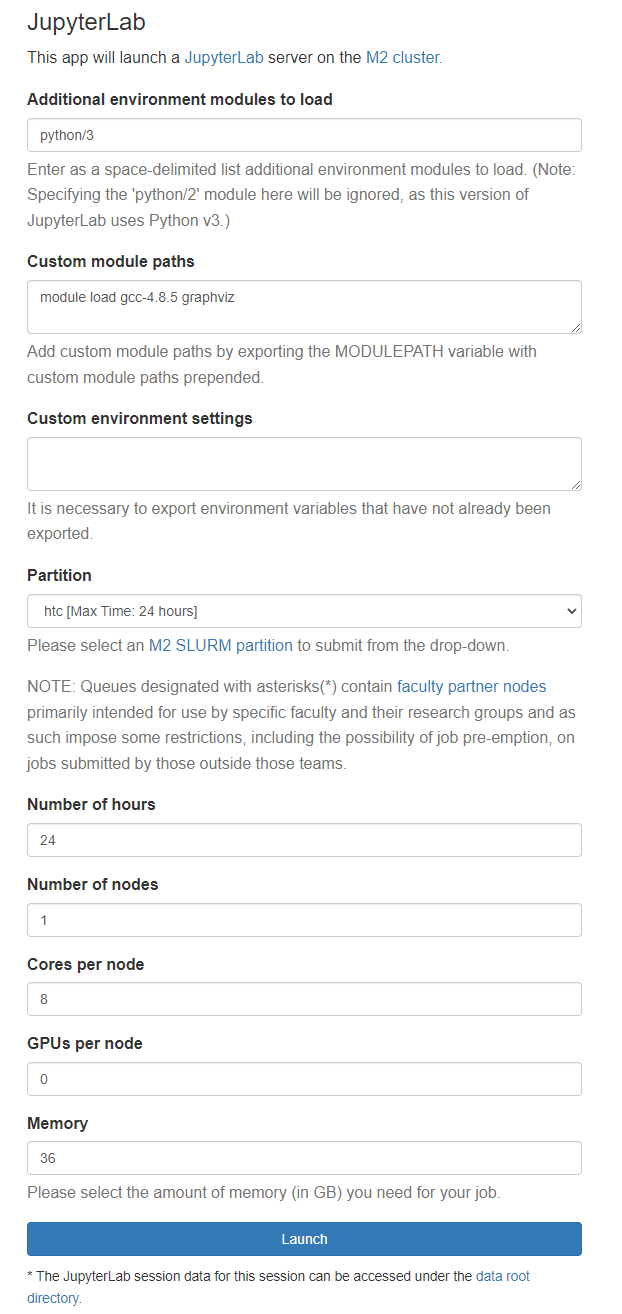
Step 3: Fill in the following information and hit Launch:
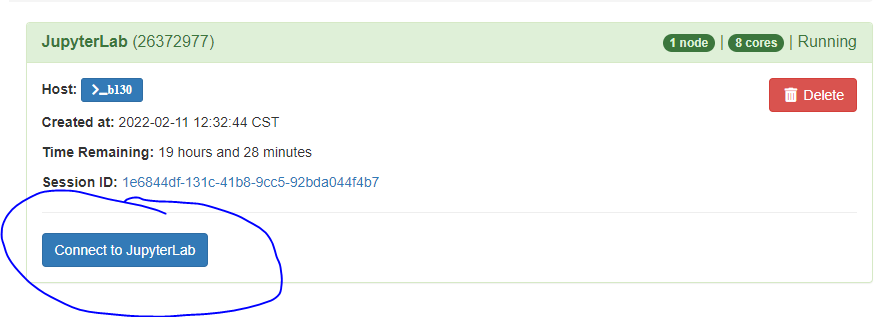
Step 4: Connect to Jupyter Lab when it is ready:
Step 5: Click on Terminal:
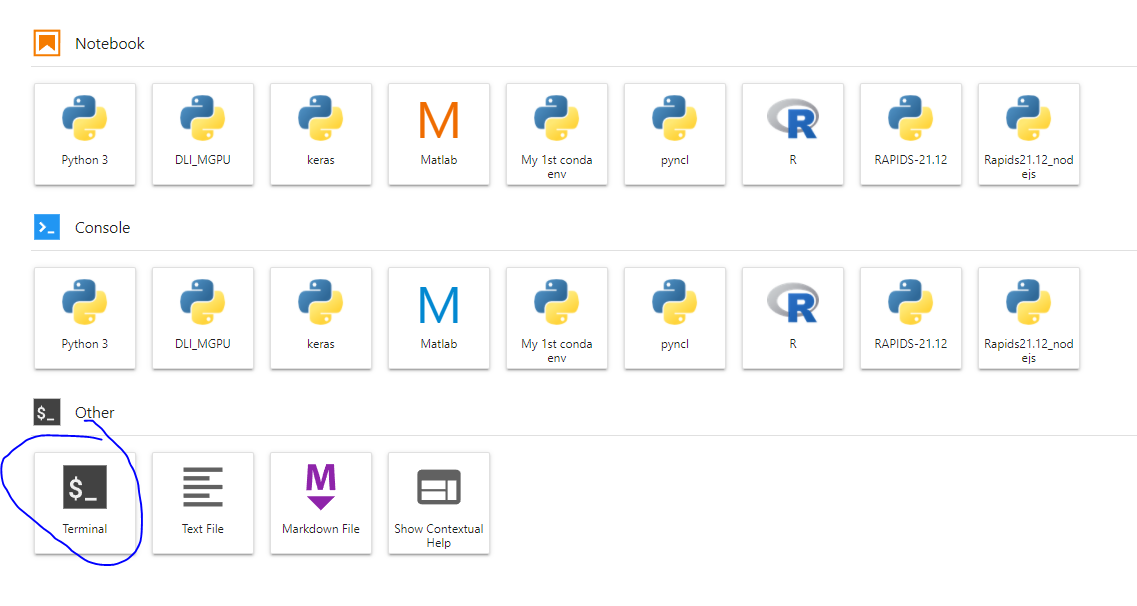
Step 6: Create a conda environment named ML_SKLN with python version 3.6
[tuev@b136 ~]$ conda create -y -n ML_SKLN python=3.6
Step 7: Activate the conda environment and install scikit-learn, matplotlib and any other needed packages.
[tuev@b136 ~]$ source activate ML_SKLN
(MK_SKLN) [tuev@b136 ~]$ conda install numpy pandas scikit-learn seaborn matplotlib -y
Step 8: Install jupyter and create ML_SKLN kernel:
(MK_SKLN) [tuev@b136 ~]$ conda install jupyter -y
(MK_SKLN) [tuev@b136 ~]$ python -m ipykernel install --user --name ML_SKLN --display-name "ML_SKLN"
=> Note: while using ML_SKLN conda environment, if we are missing anything, we can always come back and update using pip install or conda install method.
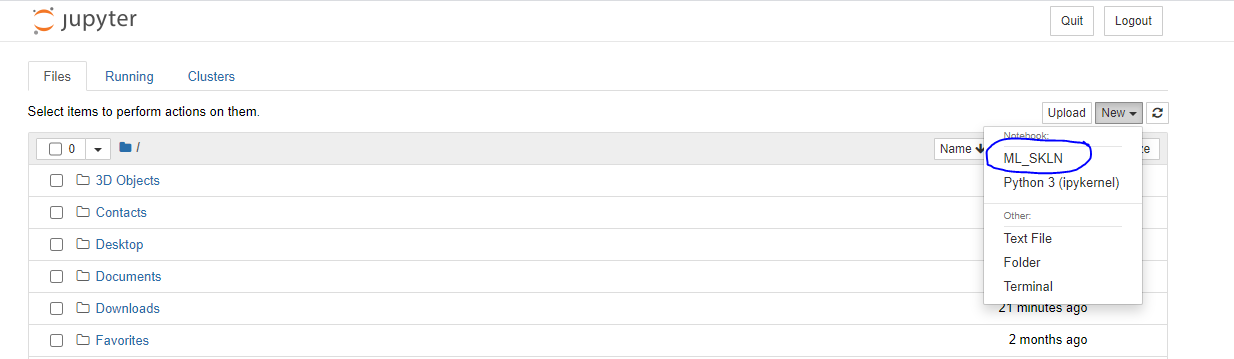
Refresh the web browser and click on the + button on the left, you will see the new kernel created:
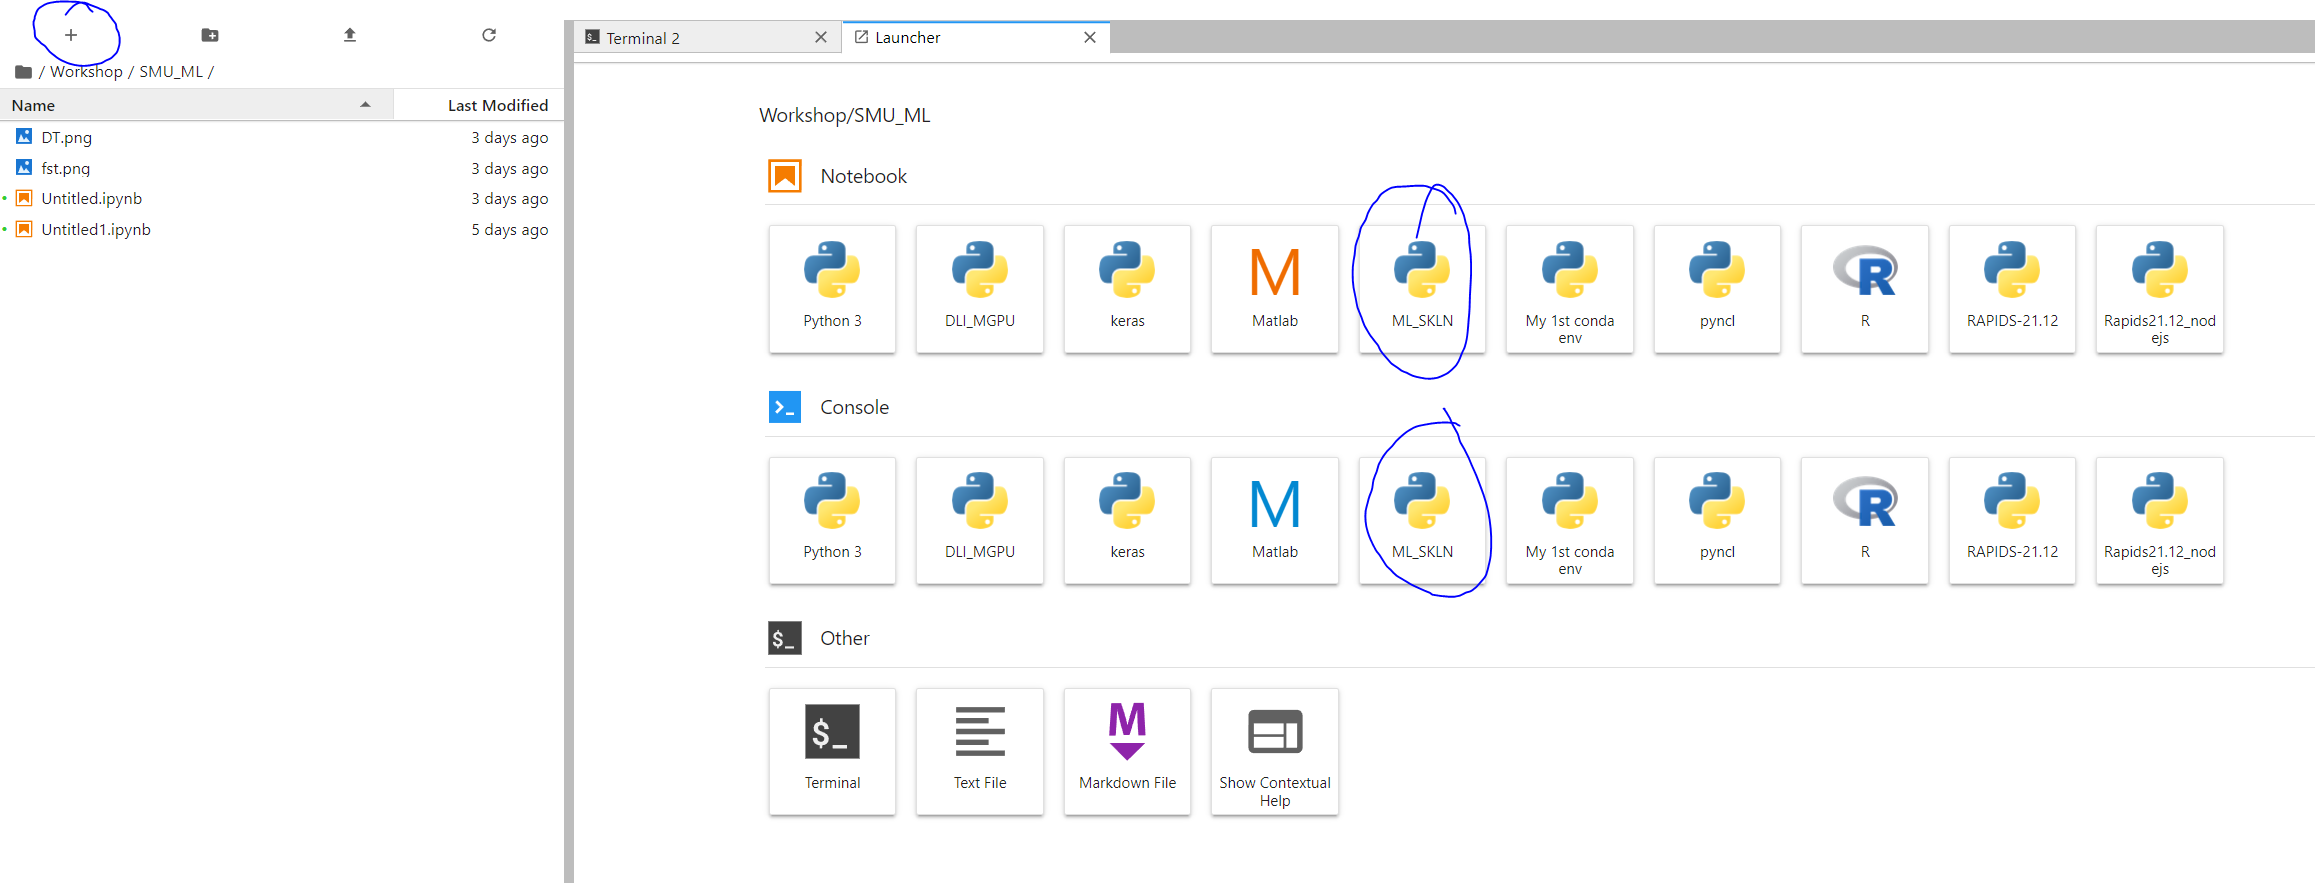
Step 9: Make sure your installation looks ok.
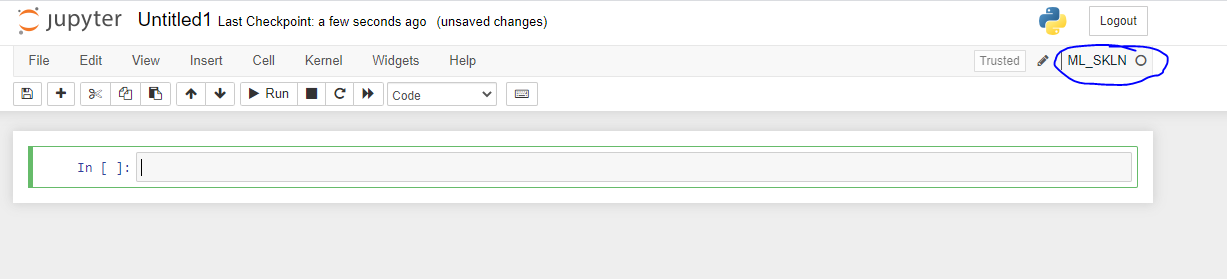
Click on the ML_SKLN notebook, you will open up a Jupyter notebook. Make sure you see the ML_SKLN kernel on the top right and type in these command to check the installed version:

Method 2: Using your local machine (Windows, MacOS)
If you do not have an M2 account, not to worry, you can always use your own Laptop running on Windows/MacOS or Linux Ubuntu.
Step 1: Download Anaconda Invididual
Go to this link and download your matched Anaconda version:

Once installation successful, go to step 2 to install your conda environment
Step 2: Open Anaconda\Anaconda Navigator and Launch Jupyter Notebook
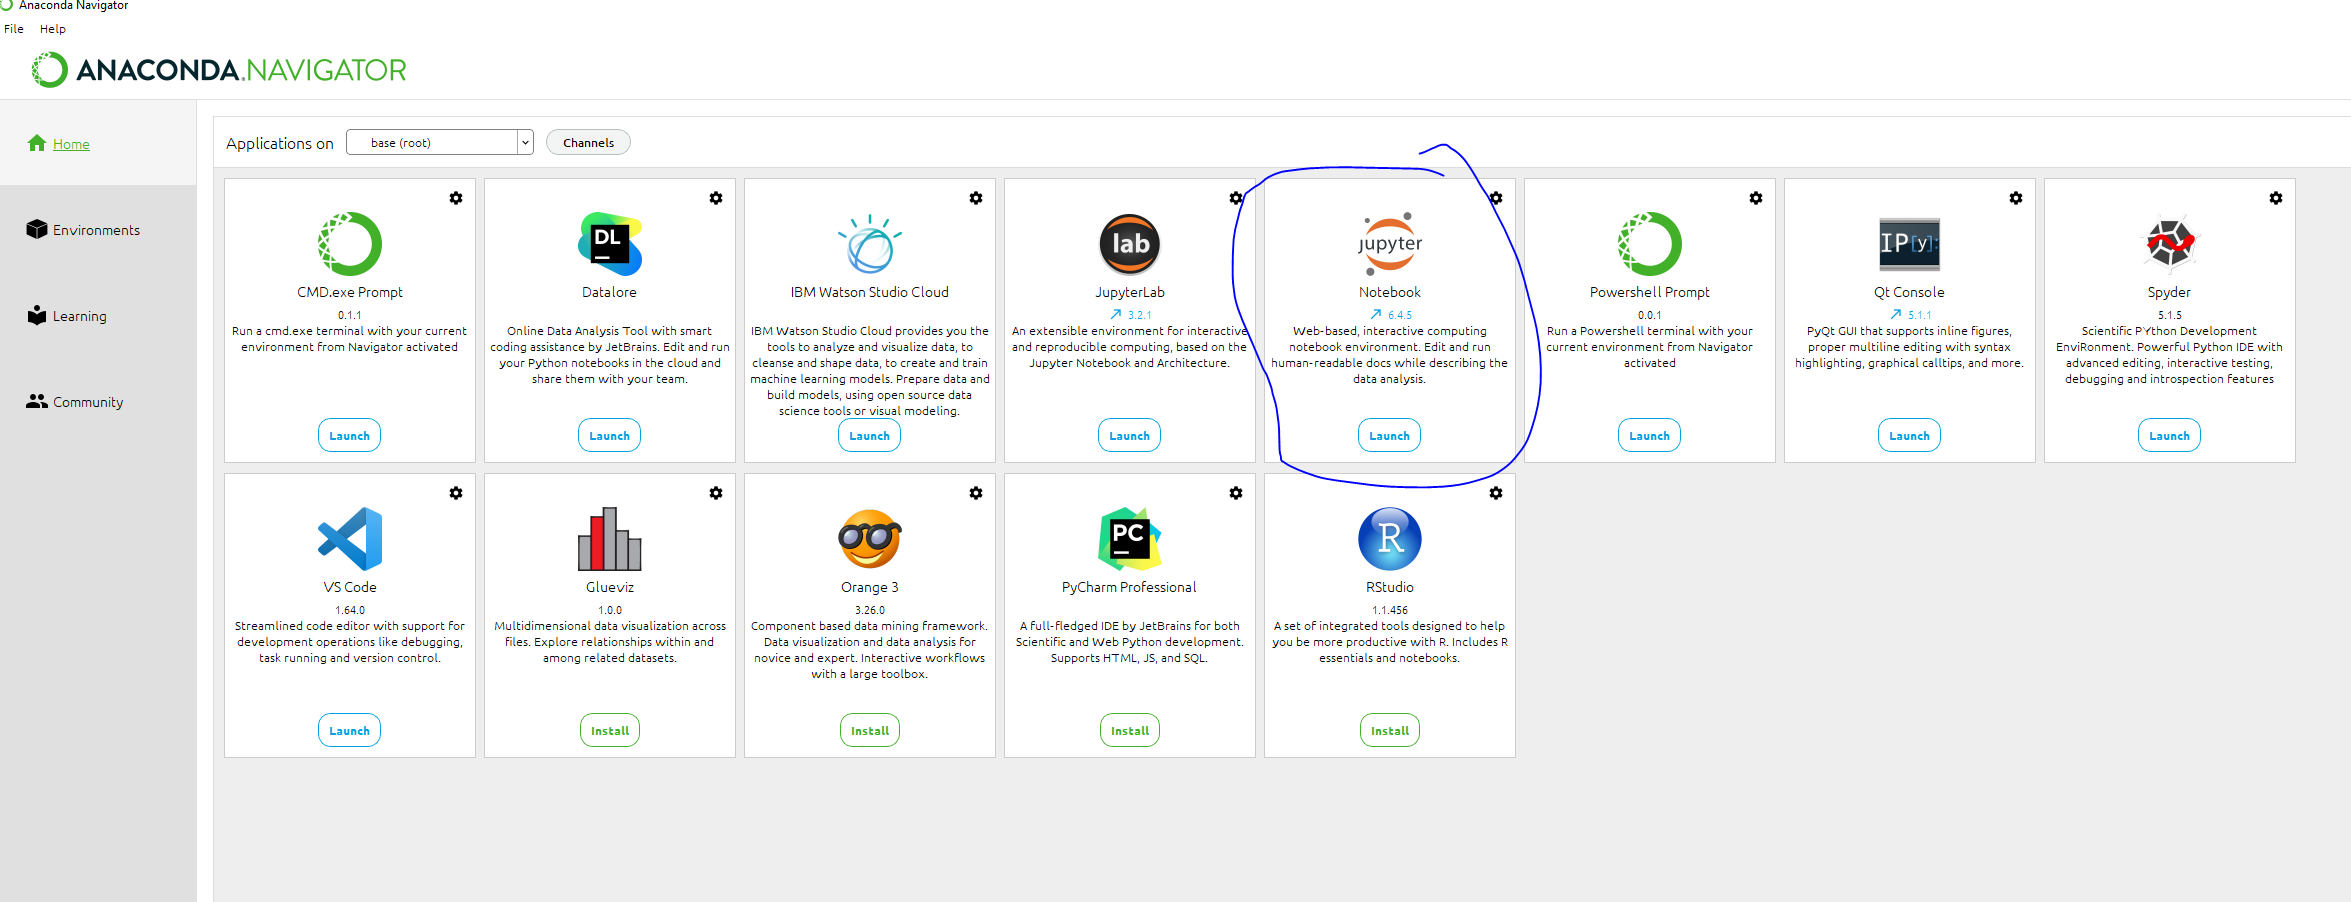
You can use any web browser to open Jupyter Notebook
Right now, if you click on New on the right hand side, you will see some kernel appears:
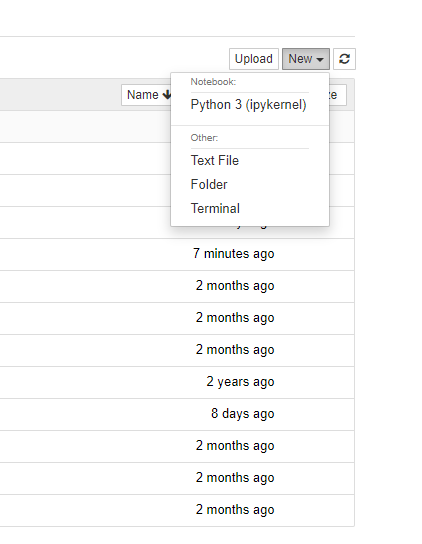
Now we gonna setup scikit-learn and create a kernel for that using conda environment
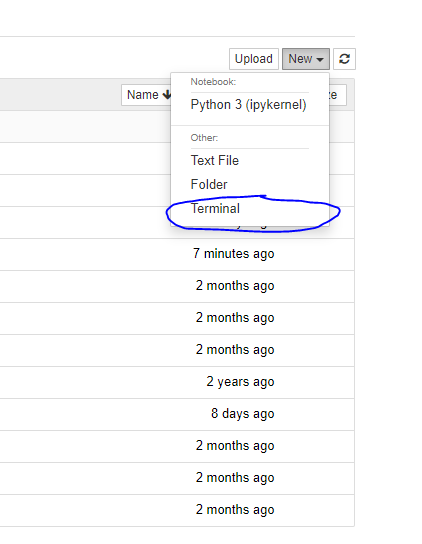
Step 3: Click on Terminal:
From New, Click to Open Terminal:
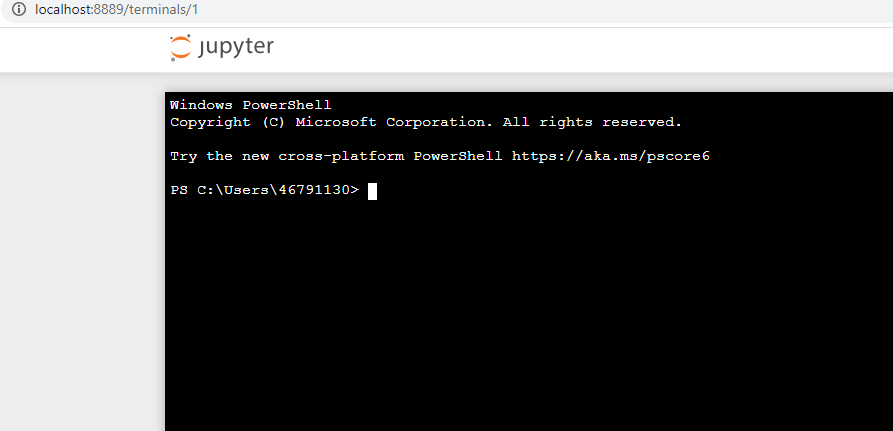
The Terminal window appears:
Step 4: Create a conda environment named ML_SKLN with python version 3.6
PS C:\Users\46791130> conda create -y -n ML_SKLN python=3.6
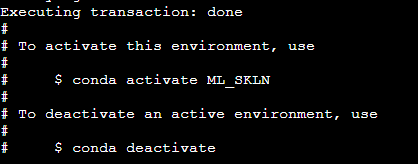
If you see this screen, it means your conda environment was created and you are ready to install scikit-learn:
Step 5: Activate the conda environment
For MacOS:
PS C:\Users\46791130> source activate ML_SKLN
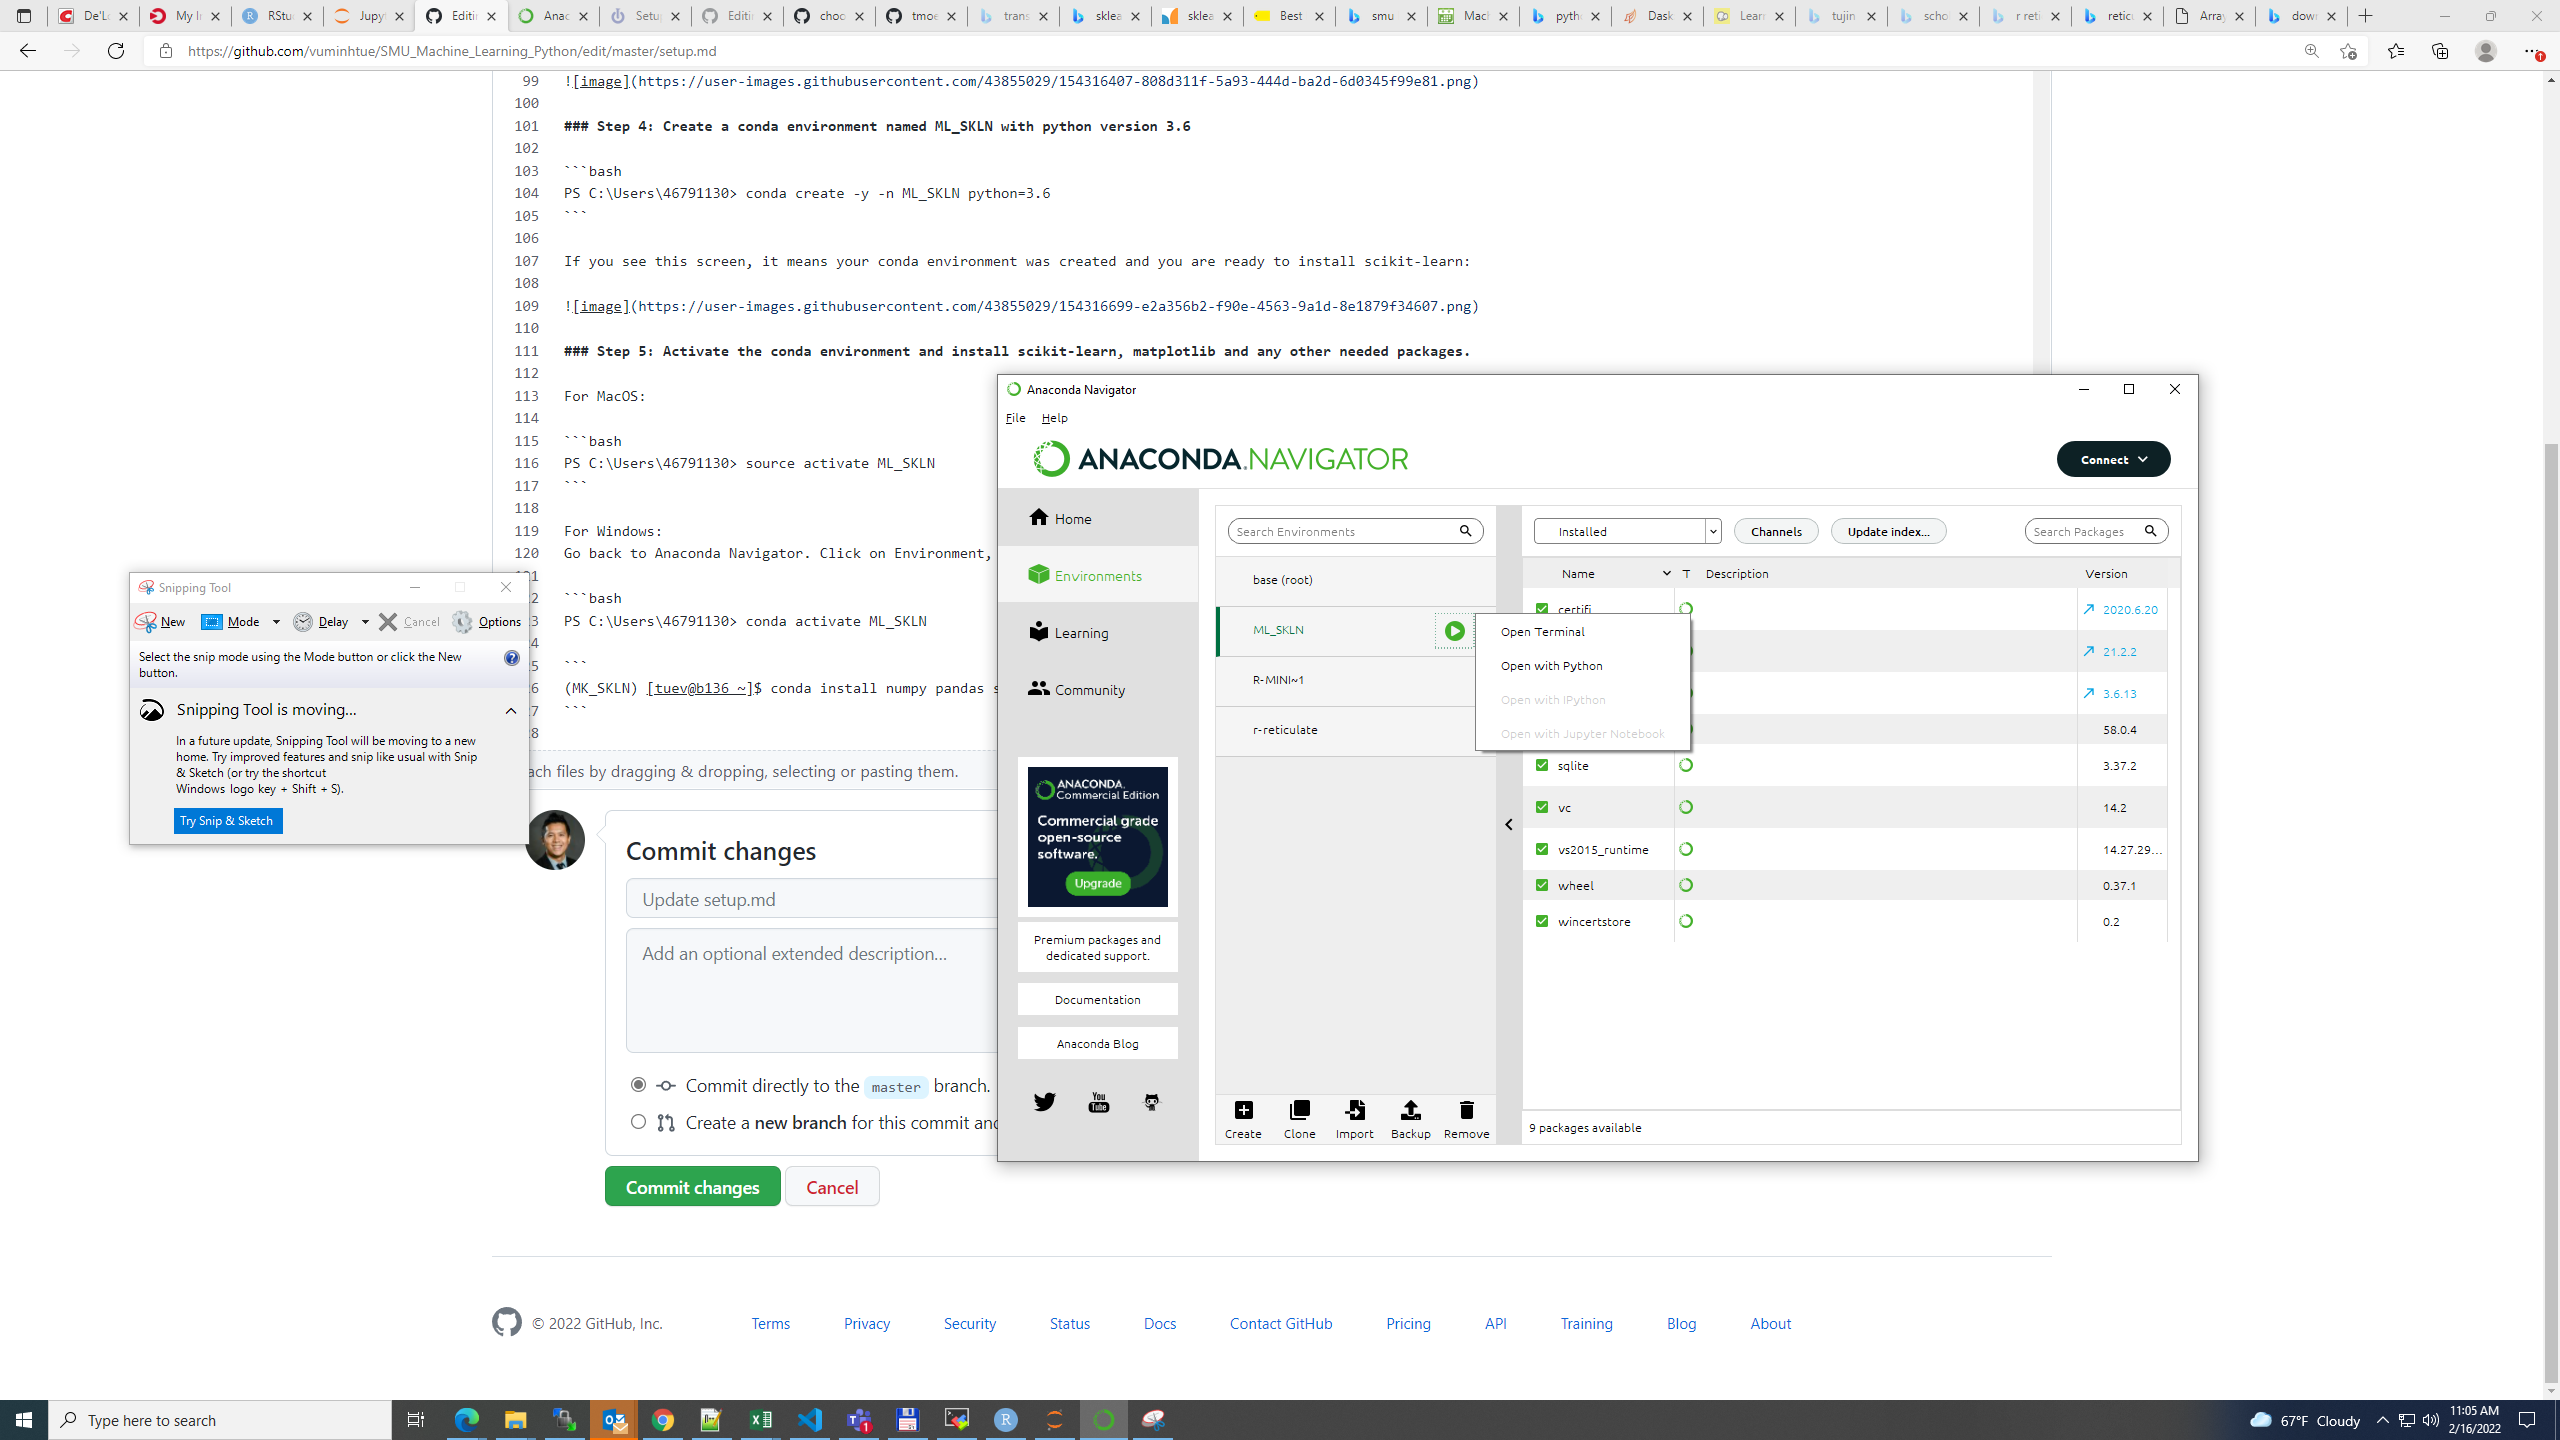
For Windows: Go back to Anaconda Navigator. Click on Environment, you will see the ML_SKLN environment was created. Click to Open Terminal:
Step 6: Once the ML_SKLN conda environment was activated,install scikit-learn, matplotlib and any other needed packages
(ML_SKLN) C:\Users\46791130> conda install numpy pandas scikit-learn seaborn matplotlib -y
Step 7: Install jupyter and create ML_SKLN kernel:
(ML_SKLN) C:\Users\46791130> conda install jupyter -y
(ML_SKLN) C:\Users\46791130> python -m ipykernel install --user --name ML_SKLN --display-name "ML_SKLN"
=> Note: while using ML_SKLN conda environment, if we are missing anything, we can always come back and update using pip install or conda install method.
Once installation done, go back to Jupyter Notebook and hit refresh. Click on New and you will see ML_SKLN kernel created:
Click on ML_SKLN kernel and a Jupyter Notebook appears with ML_SKLN kernel on the top right:
You are good to go!